Dockerizing a two-tier web application
I am a DEVOPS ENGINEER from Pune, Maharashtra. Currently a working professional with 2 years of experience.
What is meant by a two-tier application?
A two-tier web application architecture is a software architecture in which a client communicates directly with a server. It consists of two main components or tiers:
Client Tier (Front-end):
This is the user interface or presentation layer.
It runs on the client's machine (e.g., web browser).
Responsible for presenting information to the user and collecting user inputs.
Often includes graphical user interfaces (GUIs), web pages, and client-side scripts.
Server Tier (Back-end):
This is the application and data processing layer.
Runs on a server (remote or local) and handles application logic, business processes, and data storage.
Manages communication between the client and the database.
In a web context, it typically involves a web server, application server, and a database server.
In a two-tier architecture, the client directly communicates with the server to perform tasks. For example, in a simple web application:
The web browser (client) sends a request to a web server.
The web server processes the request, possibly interacts with an application server for business logic, and retrieves or stores data in a database.
The web server then sends a response back to the client, which is displayed on the user's browser.
Advantages of a two-tier architecture include simplicity and ease of development, as there are only two main components to manage. However, it may lack scalability and flexibility compared to more complex architectures like three-tier or n-tier architectures. In a more complex system, additional tiers (such as an application server tier) can be introduced to separate concerns and improve scalability and maintainability.
What is meant by dockerizing an application?
Dockerizing an application refers to the process of packaging an application and its dependencies into a Docker container. Docker is a platform for developing, shipping, and running applications in containers, which are lightweight, portable, and self-sufficient units that can run consistently across different environments.
Here are the key steps involved in dockerizing an application:
Create a Dockerfile:
The Dockerfile is a script that contains instructions for building a Docker image.
It specifies the base image, sets up the environment, installs dependencies, and copies the application code into the container.
Define Dependencies:
Specify any runtime dependencies and configurations required for the application to run.
This may include libraries, packages, environment variables, and other settings.
Build the Docker Image:
Use the Dockerfile to build a Docker image. The image is a lightweight, standalone, and executable package that includes the application code and its dependencies.
The build process creates layers, and Docker images are composed of these layers, making them efficient and shareable.
Run the Docker Container:
Once the Docker image is created, you can run instances of it as containers.
Containers are isolated and run consistently across different environments, providing a predictable and reproducible runtime environment for the application.
Dockerizing an application offers several benefits:
Portability: Docker containers encapsulate the application and its dependencies, ensuring that it runs consistently across different environments, from development to production.
Isolation: Containers provide process isolation, preventing conflicts between the application and its dependencies. Each container runs in its own isolated environment.
Scalability: Docker containers are lightweight and can be easily scaled up or down to handle varying workloads.
Ease of Deployment: Docker simplifies the deployment process. Once an image is created, it can be easily distributed and deployed on any system that supports Docker.
Versioning: Docker images can be versioned, allowing you to roll back to previous versions or deploy specific versions of your application.
Docker has become a popular technology for containerization, making it easier for developers to build, ship, and run applications consistently across various environments.
Dockerizing our two-tier web application.
Now in order to go ahead there are some pre-requisites:
You need to have an AWS account.
You need to have a Github account.
You need to have a DockerHub account.
We will start by creating EC2 instance to create our virtual server.
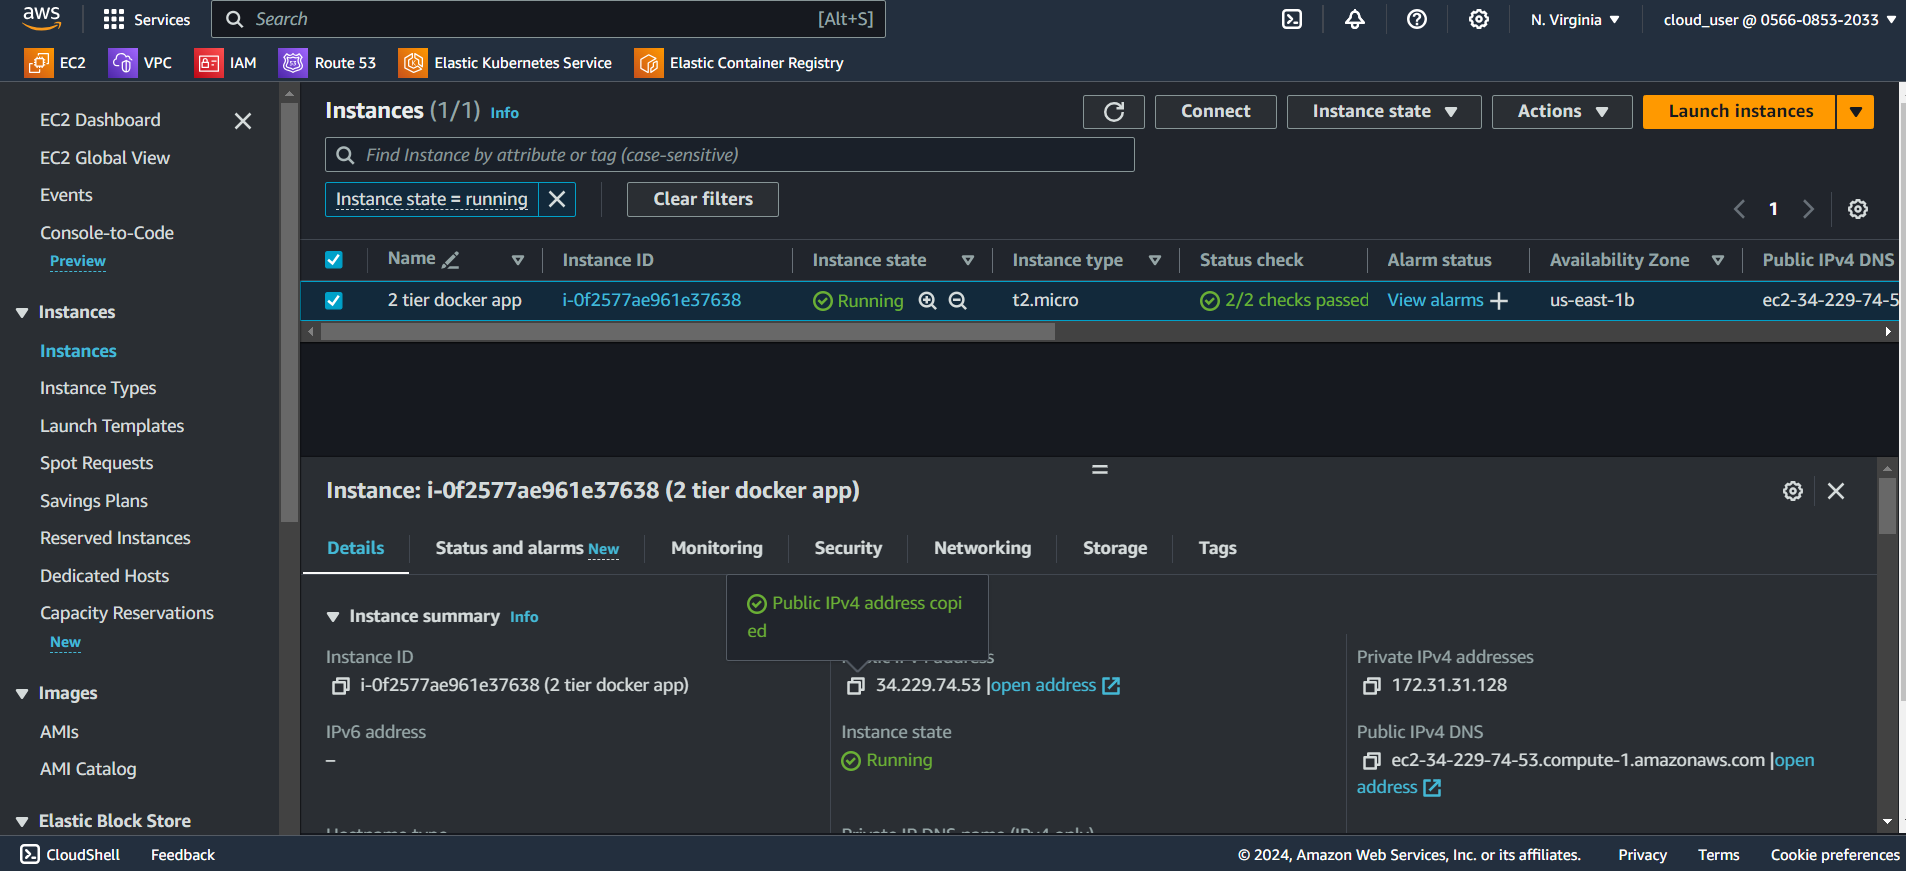
I have already created my EC2 instance and we will directly proceed to dockerizing our application.
The only thing to remember here is that in the security group you have to add the following ports in the inbound rules.
5000 - Docker
3306 -MYSQL
Now we will ssh into the instance through putty which is for windows.
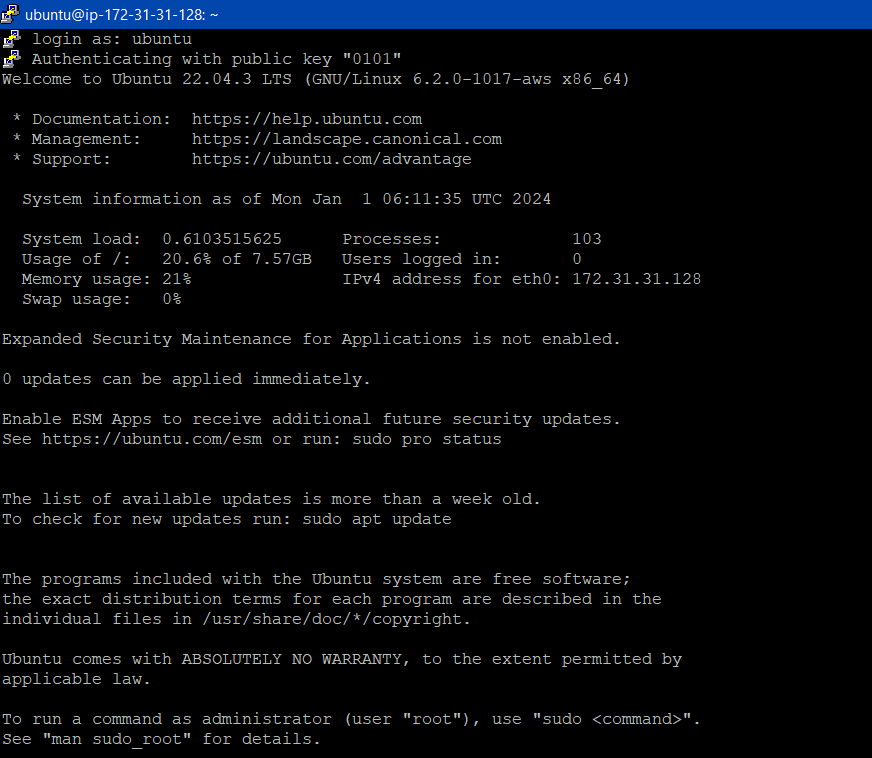
Now put the following commands to update
sudo apt update
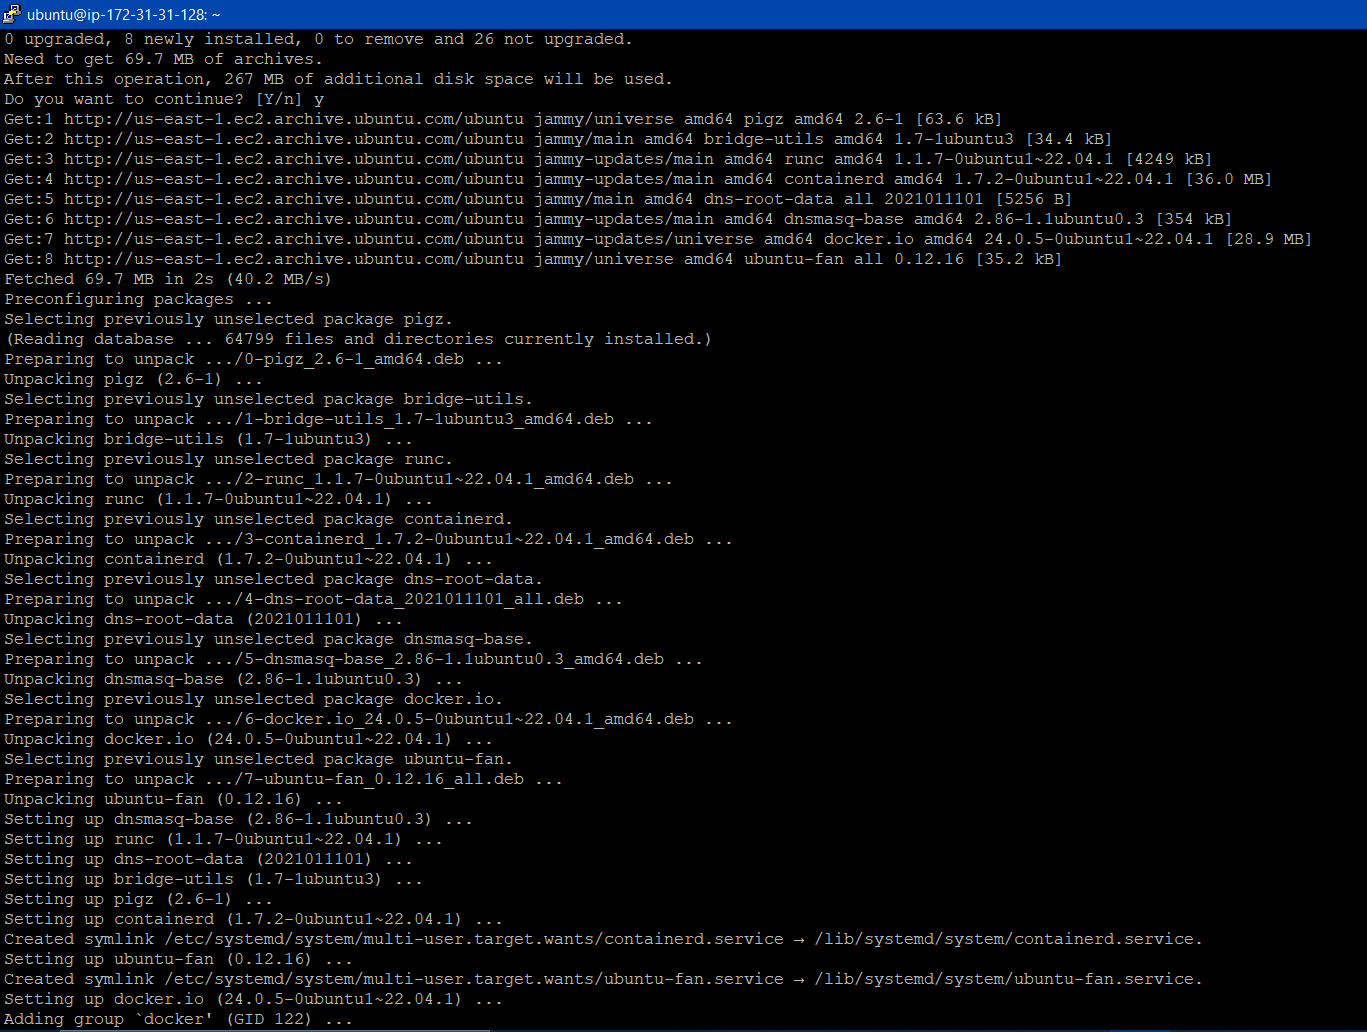
Now we will install docker.io
sudo apt install docker.io
Now we have to pull the code from github into our instance using the command git clone
git clone https://github.com/LondheShubham153/two-tier-flask-app.git
then change the working directory
cd two-tier-flask-app
Now change the permission of the user
sudo chown ubuntu /var/run/docker.sock
Now list the files in the current working directory by
ls

Then we have to write the Dockerfile
FROM python:3.9-slim
WORKDIR /app
RUN apt-get update -y \
    && apt-get upgrade -y\
    && apt-get install -y gcc default-libmysqlclient-dev pkg-config \
    && rm -rf /var/lib/apt/lists/*
COPY requirements.txt
RUN pip install mysqlclient
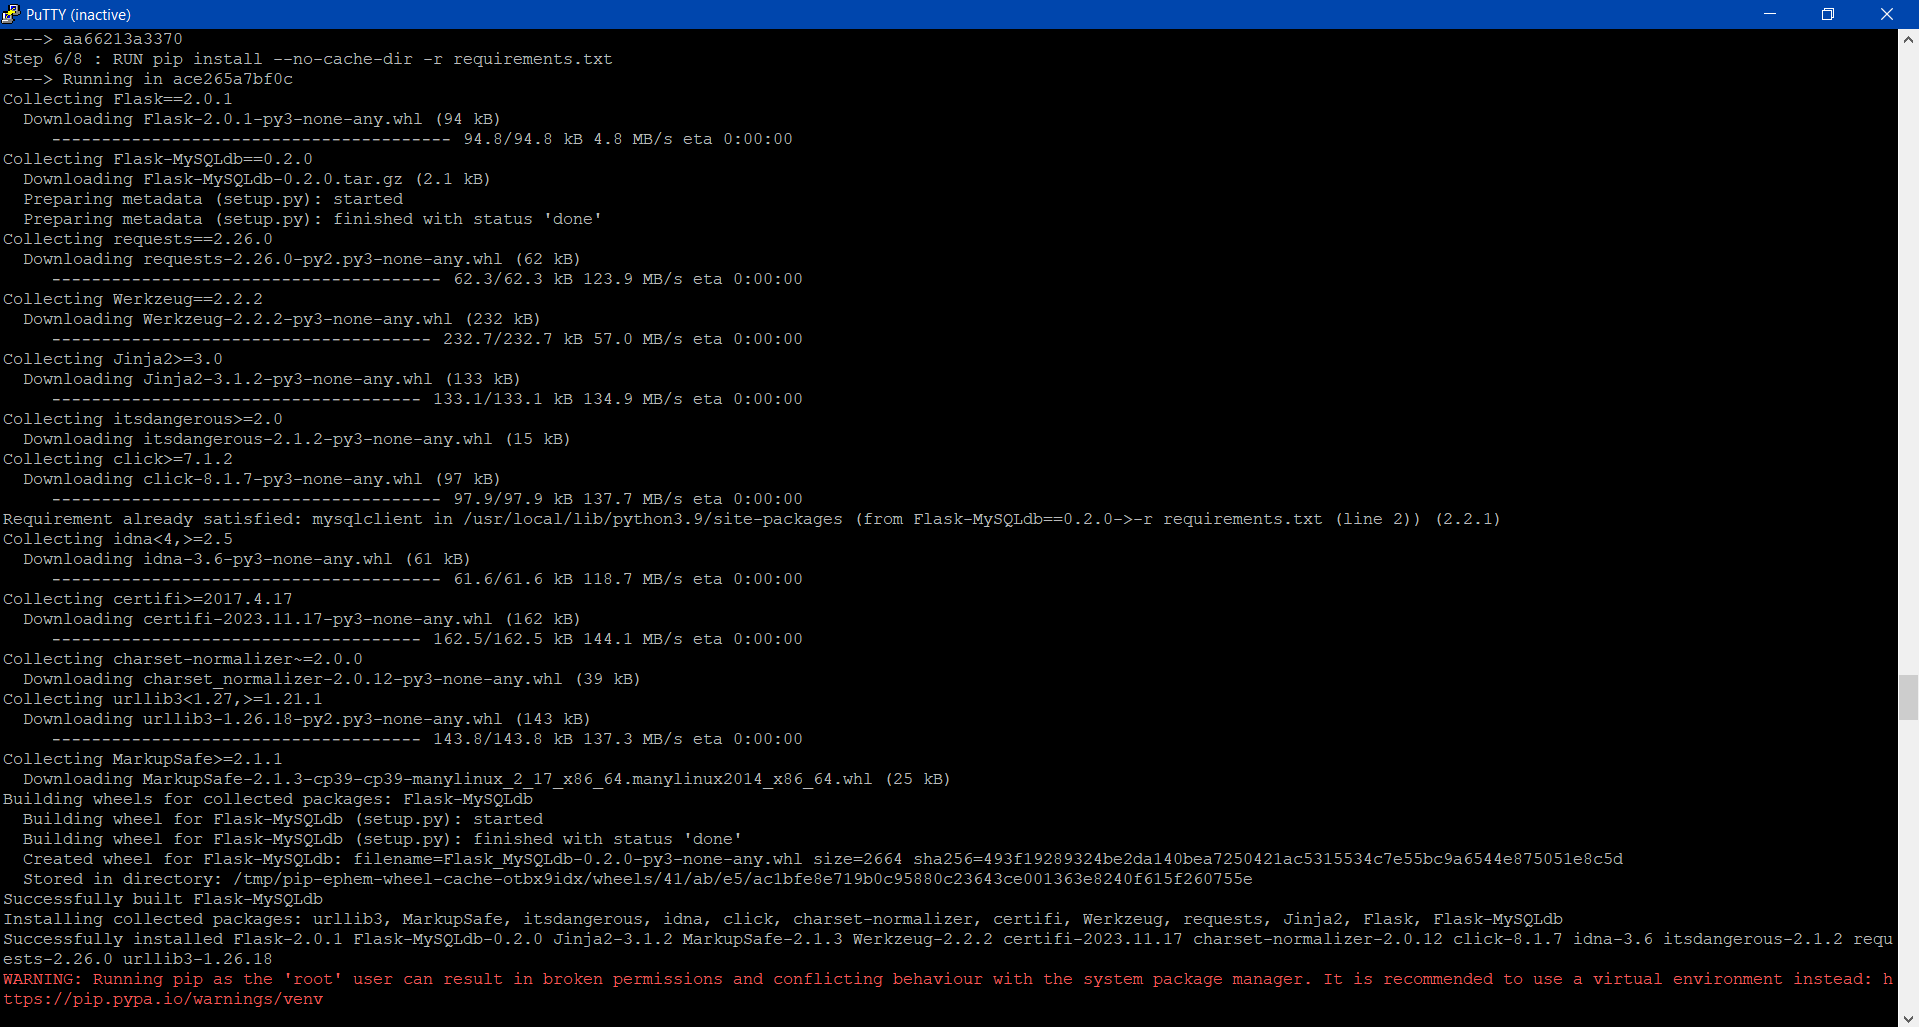
RUN pip install -r requirements.txt

COPY . .
CMD ["python","app.py"]
What is a dockerfile?
A Dockerfile is a script that contains a set of instructions for building a Docker image. Docker uses these instructions to automate the process of creating a container image, which is a lightweight, portable, and self-sufficient unit that includes the application code, runtime, libraries, and other dependencies required to run the application.
Here are some key elements and common instructions found in a Dockerfile:
Base Image:
Specifies the base image from which the Docker image will be built. It typically includes the operating system and a minimal set of tools.
Example:
FROM ubuntu:20.04
Working Directory:
Sets the working directory inside the container where subsequent instructions will be executed.
Example:
WORKDIR /app
Copying Files:
Copies files from the host machine into the container.
Example:
COPY . /app
Installing Dependencies:
Installs required packages, libraries, or dependencies.
Example:
RUN apt-get update && apt-get install -y python3
Environment Variables:
Sets environment variables that the application can use during runtime.
Example:
ENV MY_VARIABLE=my_value
Exposing Ports:
Exposes network ports that the application will use.
Example:
EXPOSE 8080
Running Commands:
Specifies commands to be executed during image build time.
Example:
RUN pip install -r requirements.txt
CMD or ENTRYPOINT:
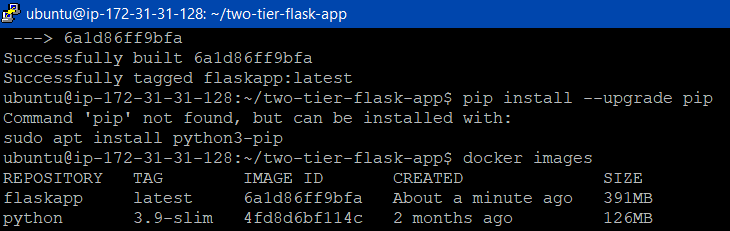
Now we can finally build the flaskapp using the dockerfile.
docker build . -t flaskapp
Now you can see the flaskapp been created.
Now we will create containers using those images
docker run -d -p 5000:5000 flaskapp:latest
docker run -d -p 3306:3306 --name mysql -e MYSQL_ROOT_PASSWORD="admin" mysql:5.7
Now we have created 2 conatiners using the above image. One container for the flaskapp and the other container is for the mysql database which together consists of the two parts of the two-tier application.
Now that we have created two containers but they are operating seprately on their own and we now have to create a connection between them.
docker network create twotier
Then check the name of the network that is been created and then in order to add that network we need to again create two conatiners by killing the previous two containers.
- MYSQL and flaskapp
docker run -d --name mysql -v mysql-data:/var/lib/mysql -v ./message.sql:/docker-entrypoint-initdb.d/message.sql --network=twotier -e MYSQL_DATABASE=mydb -e MYSQL_USER=root -e MYSQL_ROOT_PASSWORD="admin" -p 3360:3360 mysql:5.7
docker run -d --name flaskapp -v mysql-data:/var/lib/mysql -v ./message.sql:/docker-entrypoint-initdb.d/message.sql --network=twotier -e MYSQL_HOST=mysql -e MYSQL_USER=root -e MYSQL_PASSWORD=admin -e MYSQL_DB=mydb -p 5000:5000 flaskapp:latest
Now finally check the status of your app by opening the IP address of your server on the port 5000 in the following format aaa.bbb.ccc.ddd:5000 .
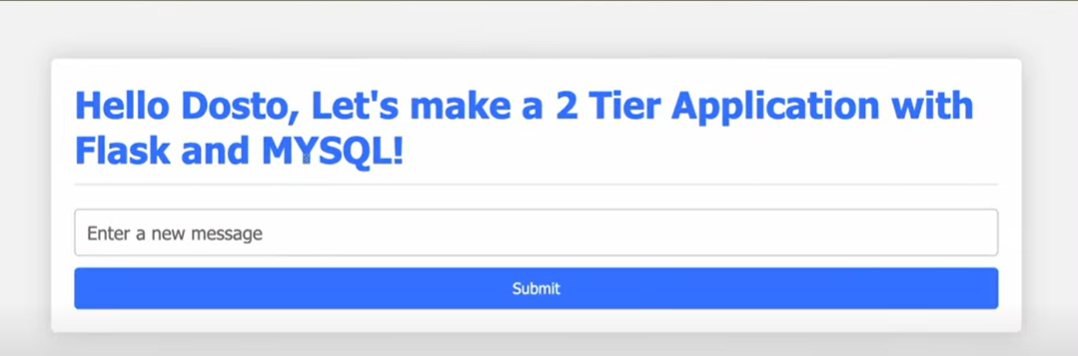
Finally we have created a two-tier web application and sucessfully dockerized it using AWS.
You can follow me for more such AWS projects...
Thats all for this blog, until then happy learning.